When I first tried to plaster a ceiling myself, I thought watching a few videos and skimming one wall was enough. It was not. I misread the hydration reaction stages, took my trowel across the skim coat too late, and locked in ridges across half the room. By the time it dried, the ceiling looked like gentle waves under certain lights. I ended up calling in another plastering contractor to put it right.
This guide walks you through what really happens when you plaster a ceiling yourself, where DIY works, and where it bites back. You will learn how to aim for a smooth finish, stay safe, handle damp rooms, and deal with older houses without wrecking the ceiling plaster.
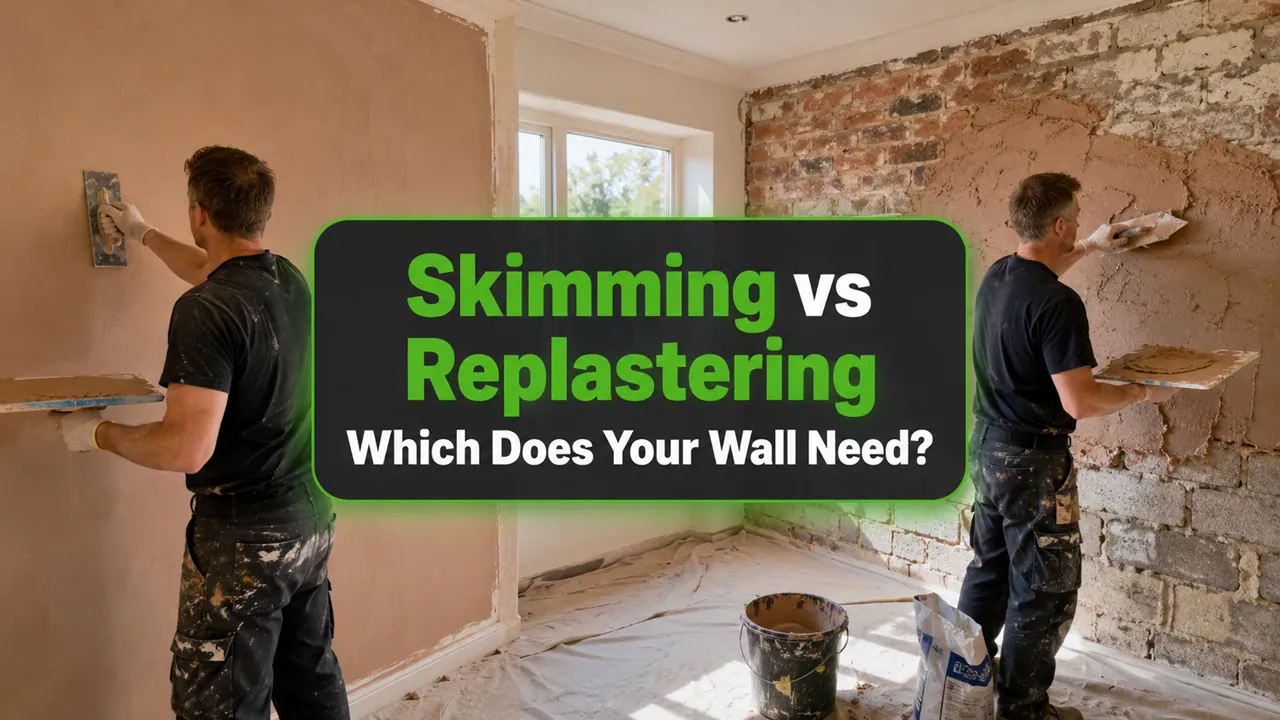
What Should You Do If You Plaster a Ceiling Yourself and Want a Smooth Finish?
If you decide to plaster a ceiling yourself, the finish quality starts long before the plaster touches the hawk.
1. Prepare The Surface Properly
You need clean, sound plasterboard or existing plaster with firm edges. Remove loose material, flaking paint, and dust. Poor surface preparation is the biggest cause of patchy absorption anomalies and adhesion failure indicators when people plaster a ceiling themselves.
2. Control Suction and Moisture
Use a good bonding agent that suits your substrate condition. This keeps surface porosity levels consistent and stabilises moisture distribution patterns, so your skim coat behaves the same across the whole ceiling.
3. Follow A Skim Coat Application Sequence
Lay on the first coat thin and even. Flatten it, then follow with a second pass once the plaster starts to firm. This two-pass trowel technique lets you manage surface compression timing and reduces trowel ridge development.
When you plaster a ceiling yourself, you are managing plaster expansion and shrink response, even if you do not think about it in those terms. Consistency wins over speed every time.
Read More: Best Way to Get a Smooth Ceiling Finish
How Can You Plaster a Ceiling Yourself and Stay Safe?
Most DIY advice talks about mix ratios and tools. Not enough talks about safety.
- Use Stable Access Equipment
A proper platform or small scaffold is safer than a cheap wobbly ladder. You will be holding a hawk full of plaster, a trowel, and working overhead. Stability is non-negotiable if you want to plaster a ceiling or nearby walls safely. - Protect Your Body, Eyes, And Lungs
Wear eye protection and a good mask. When you sand or scrape, fine dust hangs in the air. I have seen people plaster a ceiling themselves, then spend days coughing because they ignored basic protection. - Plan Your Work Area
Cover floors, move furniture, and keep cables clear of your feet. You will spill plaster. You will drip water. A clean, clear area reduces slips and keeps your focus on the surface, not you’re footing.
If you feel rushed or tired, stop. Most accidents and rough patches happen in the last hour when people push through.
Which Issues Cause Problems When You Plaster a Ceiling Yourself in Damp Rooms?
Damp rooms are where DIY plastering goes wrong most often. Bathrooms, utility rooms, and some kitchens change how plaster behaves.
Humidity-Driven Curing Behaviour
High humidity slows evaporation and alters material setting kinetics. You may see uneven drying signatures across the ceiling, even if your skim coat thickness is consistent.
Thermal Gradient Effects
Cold external ceilings suffer localised shrinkage distortions. If one area sits over an uninsulated loft, the plaster there may crack or tighten differently when you plaster the ceiling yourself.
Poor Moisture Control
No ventilation, no dehumidifier, and no temperature plan means trouble. You want steady ambient temperature influence and gentle airflow, not a fan blasting one corner.
When in doubt, test your approach in a drier room before you tackle the damp one.
How to Check Your DIY Ceiling Plaster in Damp Rooms
You should not wait until paint to discover issues. Visual defect evaluation during curing matters.
- Use Angled Lighting
Shine a work light across the plaster at a low angle. This reveals trowel ridge development, microcracking formation, and surface tension irregularities that normal room light hides. - Watch Moisture Distribution Patterns
Look for soft, even color change as it dries. Sharp dark patches can signal substrate suction variation or poor bonding agent properties in those spots. - Feel, But Do Not Overwork
Lightly touch suspect areas with the back of your hand. Cool, wet patches in isolated areas may be fine, but if they line up with earlier bubbles or drag marks, you may have bubble entrapment causes or weak adhesion.
Checking like this while you plaster a ceiling yourself gives you a chance to correct small problems before they become full repairs.
How to Check Your Work While You Plaster a Ceiling Yourself
Even outside damp rooms, checking as you go can save a lot of sanding.
Follow A Substrate Inspection Workflow
Before you start, map where cracks, repairs, or board joints sit. Those locations often show patchy absorption anomalies and need more attention during the skim.
Use A Straightedge for Leveling Accuracy
Run a straightedge or long feather edge across the ceiling while the plaster is still workable. This highlights dips and high spots that you can adjust before the curing cycle progression locks them in.
Respect The Hydration Reaction Stages
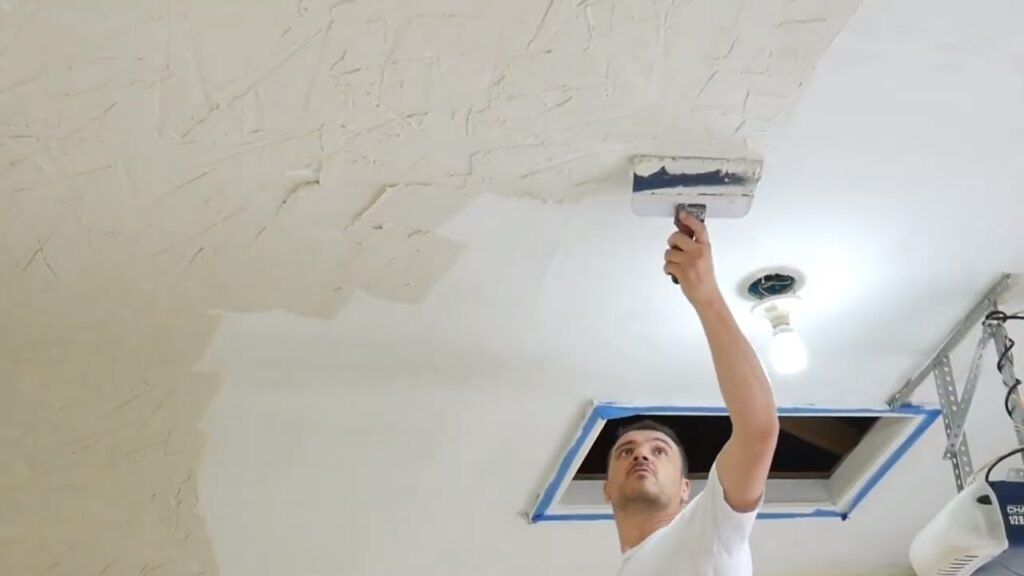
At first the plaster feels loose, then creamy, then firm. You want to refine the ceiling plaster during the firm, workable phase. If you plaster a ceiling yourself and trowel too late, you press in defects rather than remove them.
Is It Normal When You Plaster a Ceiling Yourself for It to Look Rough Before Painting?
Many homeowners panic when they see a slightly streaky ceiling the next day.
- What Is Normal
Fine lines and gentle colour variation are common. Skim coats often show uneven drying signatures as moisture leaves at slightly different rates. Once painted, small changes vanish. - What Is a Problem
Deep trowel lines, blisters, or flaking edges are not normal. These point to adhesion failure indicators, poor bonding, or bad skim coat application sequencing when you plaster the ceiling yourself. - When To Repair
If you can feel ridges clearly with your hand, sand and re-skim thinly. Minor roughness is easy to correct. Large hollows or bulges often need a more deliberate plaster ceiling yourself repair, not just filler.
It is better to fix flaws now than stare at them under every downlight later.
What Leads to Problems When You Plaster a Ceiling Yourself in Older Houses?
Older Durham houses bring their own surprises.
Different Materials and Lime-Based Plaster
Many older ceilings use lime-based plaster over lath or mixed substrates. These have different gypsum composition, suction, and plaster expansion and shrink response compared to modern boards.
Hidden Movement and Weak Sections
Timber movement and old fixings can cause microcracking formation. If you plaster a ceiling yourself over a loose base, no skim coat will stay perfect for long.
Complex Substrate Interaction
You may have patches of old artex, repairs, and bare board together. That mix creates surface porosity levels that vary wildly. Here, good undercoat blending methodology and moisture mapping procedures matter more than in a new build.
For some older ceilings, calling Plasterers Durham is cheaper than trying three times yourself. If the plaster integrity assessment worries you, do not gamble.
FAQs About Plastering a Ceiling Yourself
1. Is It Realistic to Plaster a Ceiling Yourself as A Beginner?
Yes, it’s possible, but it takes patience and a steady approach. Most beginners struggle with timing and trowel control, so expect a learning curve. With practice on a smaller room first, you can produce a respectable finish.
2. What Tools Do I Need to Plaster a Ceiling Yourself?
You need a quality trowel, hawk, mixing bucket, drill and whisk, and multi-finish plaster. A stable work platform and basic safety gear make the job far easier and safer, especially when working overhead for long periods.
3. How Long Does It Take to Plaster a Ceiling Yourself?
Most DIY ceilings take several hours to prep, apply, and clean up. Drying normally takes one to three days depending on airflow, humidity, and room temperature. Damp rooms may add extra time.
4. How Do I Know If I Have Ruined My DIY Ceiling Plaster?
Small marks, faint lines, or light uneven patches can still be fixed with sanding or a thin finishing skim. If you see blisters, flaking patches, or wide cracks, the ceiling likely needs a proper repair or a full re-skim.
5. Should I Plaster Walls or Ceilings First If I’m Doing the Job Myself?
The ceiling should be done before the walls. Working overhead often drops splashes and loose material, so completing the ceiling first keeps your walls clean and helps you avoid reworking finished surfaces later.
6. How Much Money Can I Save Plastering a Ceiling Myself?
Most homeowners save several hundred pounds by doing their own ceiling, especially in larger rooms. The real trade-off is time, effort, and the risk of needing a professional correction if the result isn’t satisfactory.
7. When Should I Call a Professional Instead of Plastering a Ceiling Yourself?
If the ceiling has deep cracks, sagging areas, or mixed old materials that react unpredictably, it’s safer to call a professional. You should also bring in a contractor when the room’s appearance matters for resale or when deadlines are tight.