A smooth ceiling finish looks simply, but it depends on how well you manage moisture, timing, substrate condition, and tool technique. When I first started skimming ceilings, I assumed the plaster would “sort itself out.” It didn’t. A single missed patch of high suction created a dull, uneven area I had to reskim the next day. That experience made me focus on surface preparation, drying behaviour, and correct compression timing. Those details matter more than anything else.
This guide explains the best way to get a smooth ceiling finish, how to check the surface during the drying phase, what changes in damp rooms, and how homeowners can achieve a professional result even without hiring a contractor.
How to Check for a Smooth Ceiling Finish During Drying
Drying behaviour shows the quality of the finish long before the plaster fully cures. Observing the surface correctly helps you understand where the plaster is settling evenly and where it needs attention.
1. Check Moisture Distribution Patterns
Look for natural, soft changes in tone. Sharp, irregular dark areas often indicate suction variation or uneven bonding agent coverage. These areas may dry slower and form subtle texture changes.
2. Examine The Surface with Angled Lighting
A low-angle work light exposes trowel ridge development, surface compression inconsistencies, or micro-high spots. If you can see raised lines or shadowed troughs, they will show through after paint.
3. Assess The Hydration Reaction Stage
During early hydration, the plaster has slight movement as the gypsum begins crystallizing. Any uneven drying signatures or surface irregularities at this stage often relate to how the skim coat was laid down and flattened.
A ceiling that dries with consistent tone and shows no visible ridges under angled light generally finishes smooth after full curing.
Related Article: How Long Does Skim Plaster Take to Dry in Durham
How to Check for a Smooth Ceiling Finish in Damp Rooms
Bathrooms, basements, and laundry areas require specific attention. Moisture in the air slows the evaporation phase, alters setting kinetics, and increases the chance of small distortions.
Manage Humidity
Dehumidifiers or controlled ventilation help stabilise moisture levels so the plaster cures at a predictable rate.
Inspect Thermal Gradient Effects
Cold ceilings slow hydration and can cause localized shrinkage distortions. If a ceiling surface feels noticeably cooler than the surrounding walls, warm the room before applying plaster.
Use Appropriate Bonding Agents
Choose bonding agents designed for damp conditions. These reduce the risk of adhesion failure indicators and improve the behaviour of the skim coat during curing.
Damp rooms need consistent airflow, stable temperature, and moisture control for a smooth final finish.
What Makes a Smooth Ceiling Finish on Ceilings
A smooth finish depends on how well each stage supports the next. The key elements are:
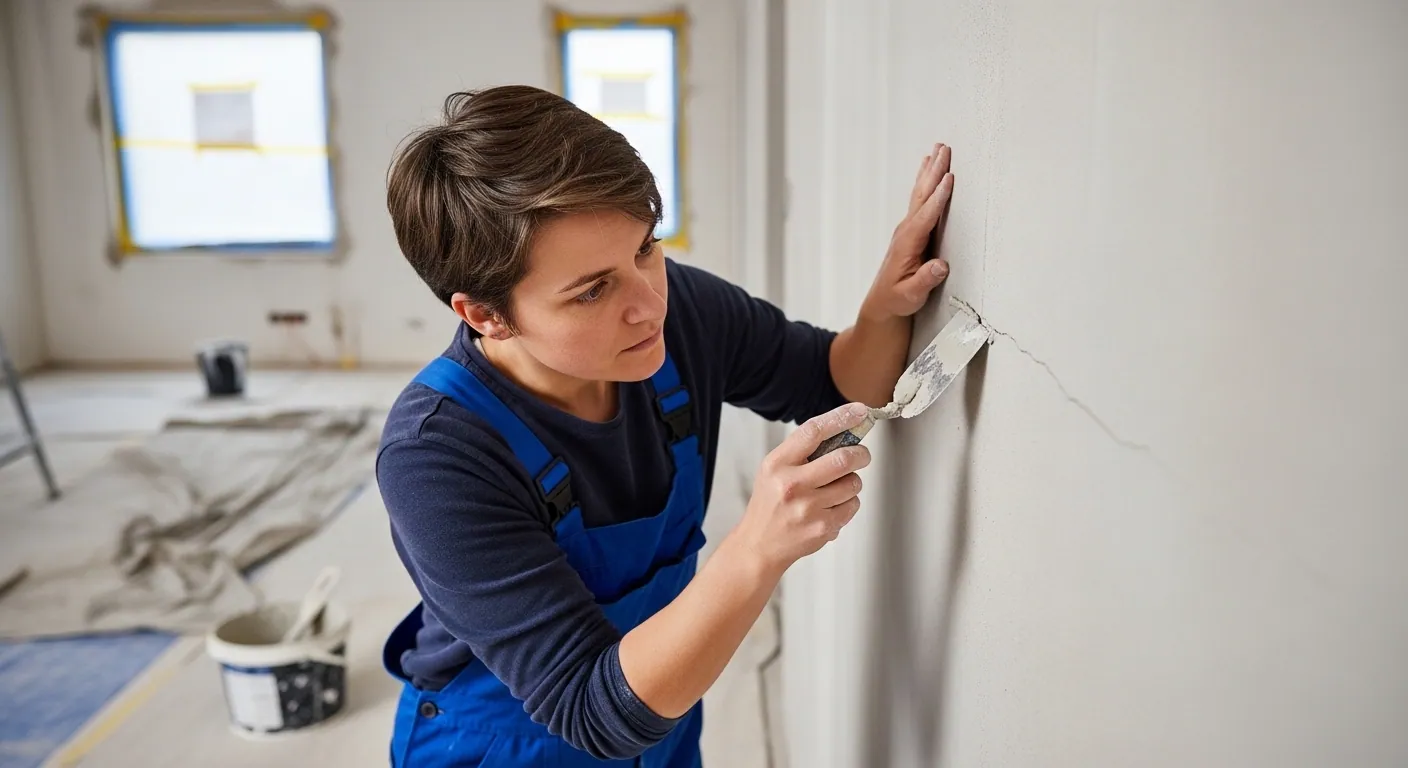
Surface Preparation
Ceilings with uneven porosity or dusty surfaces create absorption anomalies. Clean the substrate, repair defects, and apply bonding agents evenly to control suction.
Skim Coat Application Sequencing
A consistent first pass sets the foundation. The second pass controls texture and ensures even material spread. Any inconsistency in these steps alters surface tension and creates irregular drying behaviour.
Two-Pass Trowel Technique
The first trowel pass shapes the plaster. The second defines the finish. Professionals watch hydration timing closely; pressing too early drags material, while pressing too late locks in ridges.
Moisture And Temperature Stability
Stable room conditions during curing help the plaster maintain uniform integrity and prevent microcracking formation.
A ceiling becomes smooth because every stage—substrate, bonding, application, and curing—works together.
What Triggers a Smooth Ceiling Finish for a Perfect Result
Several factors directly influence how smooth the final surface becomes:
Bonding Strength
Reliable adhesion promoters ensure the skim coat compresses evenly. Weak bonding areas often create soft patches or slight blistering.
Material Consistency
Gypsum composition, water ratio, and mixing speed determine how the plaster behaves. Proper mixing ensures predictable hydration stages and reduces bubble entrapment.
Precision Timing
During the hydration reaction, the plaster passes through workable stages. Correct timing during compression smooths surface tension irregularities and helps eliminate faint lines.
These triggers work together. When handled correctly, they create a ceiling that looks flat and seamless under any lighting.
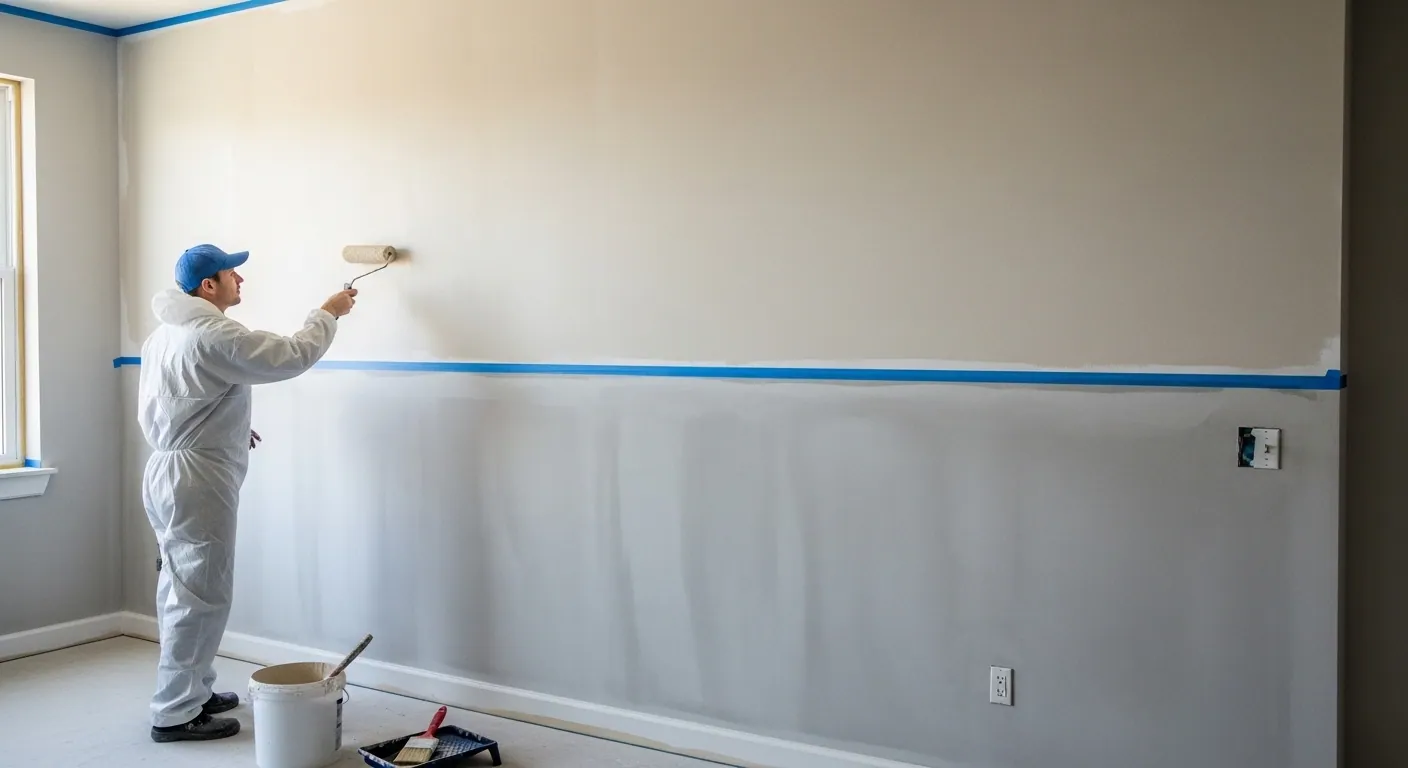
What Should You Do If You Want a Smooth Ceiling Finish Without Hiring a Pro?
Homeowners can achieve excellent results with planning and patience. Ceilings are physically demanding, but the technique becomes manageable when approached step by step.
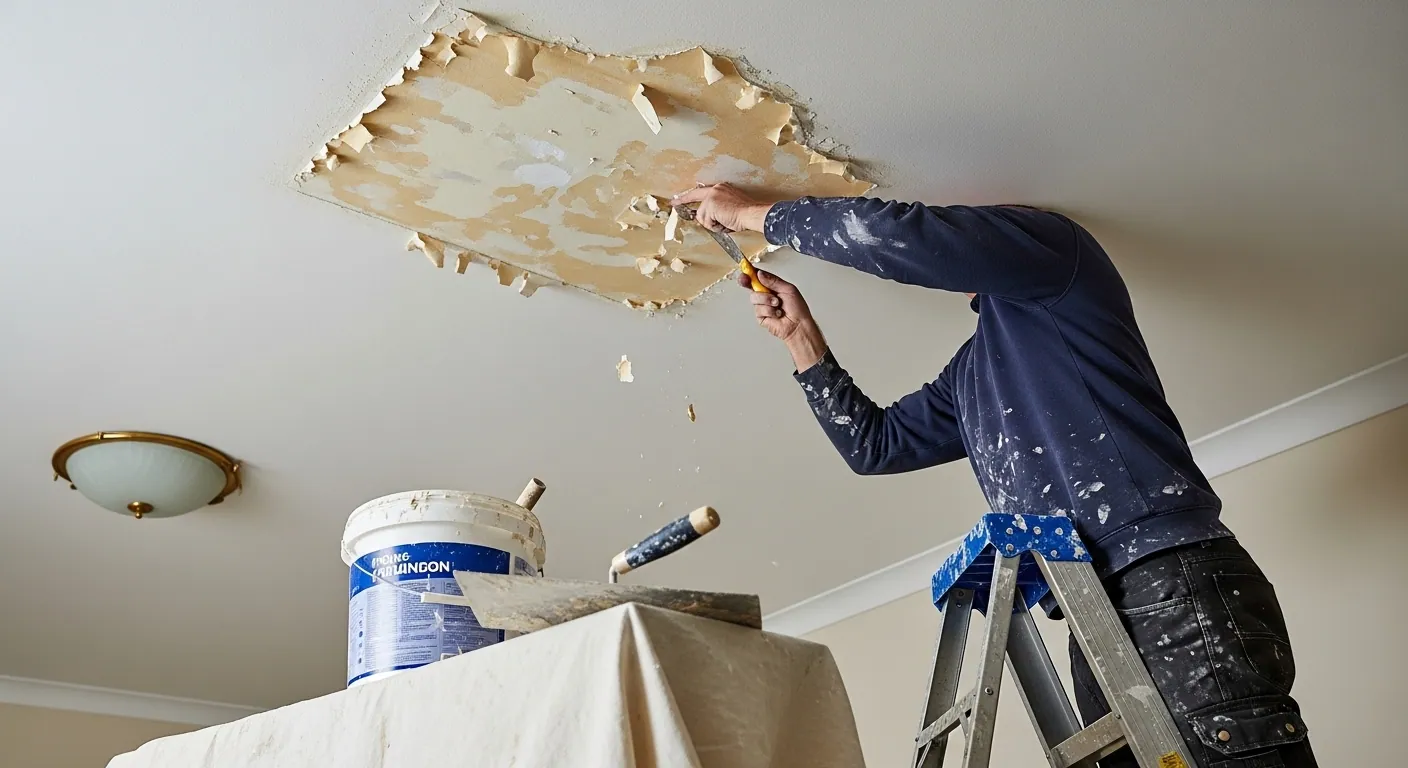
Start With Proper Substrate Inspection
Identify cracks, suction variation, and loose material. Addressing these issues before skimming prevents inconsistent drying.
Apply Bonding Agent Evenly
Uneven coverage leads to patchy absorption. A single, consistent layer creates uniform behaviour across the surface.
Follow A Controlled Skim Sequence
Load the ceiling, flatten the plaster, refine with the second pass, and use a clean trowel to polish once the material begins to tighten.
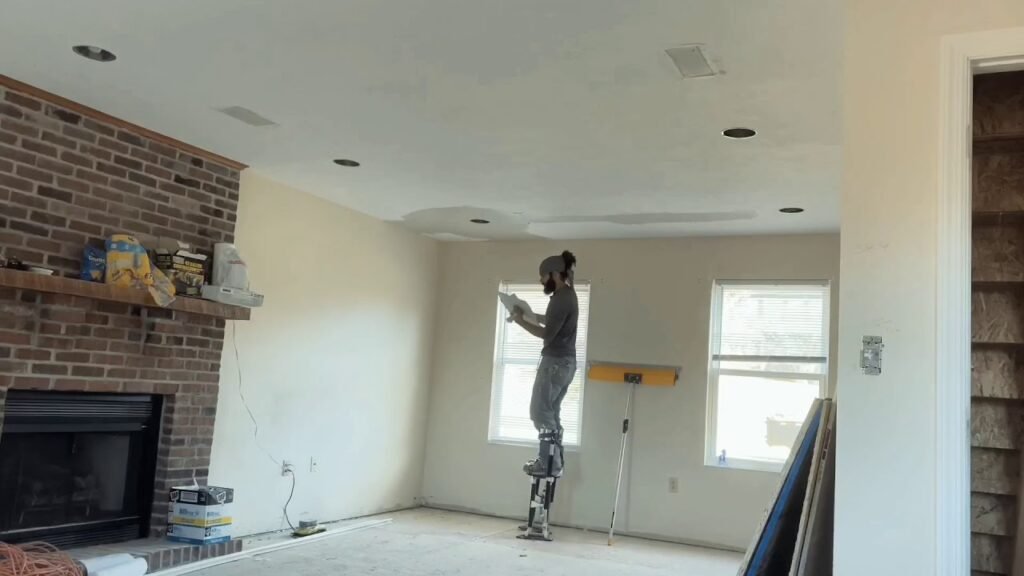
Use Strong, Angled Lighting
Lighting is essential for spotting imperfections during application, not after the plaster dries.
Allow Proper Curing Before Painting
Painting too early traps moisture, creating dull patches or hairline marks.
DIY results improve dramatically when homeowners focus on stability, timing, and careful inspection at every stage.
Which Method Gives the Best Smooth Ceiling Finish?
Professionals often rely on a single skim coat with multi-finish plaster, supported by a two-pass trowel technique. This combination offers predictable behaviour and works well across different substrate types.
Why this method works best:
- Multi-finish plaster has reliable gypsum crystallization behaviour.
- The two-pass technique controls surface compression timing.
- It adapts well to both new plasterboard and older ceilings.
- It limits surface porosity issues when paired with the correct bonding agent.
For ceilings with heavy suction, applying a thin undercoat stabilises moisture distribution and improves the final finish.
How Homeowners Can Get a Smooth Ceiling Finish That Looks Professional
Professional results come from consistency, not speed. The following steps help homeowners create a ceiling that looks clean and even:
- Inspect the substrate for porosity, cracks, and old coatings.
- Choose plaster suited to the room’s humidity level.
- Use angled lighting to guide application.
- Flatten the first coat carefully to avoid trowel ridge development.
- Follow hydration cues instead of watching the clock.
- Allow full curing before decorating.
When each step receives careful attention, the ceiling finishes smooth and uniform even without professional help.
Also Read: How Long Does Skimmed Plaster Take to Dry in Durham
FAQs About Getting a Smooth Ceiling Finish
1. How Do I Get a Smooth Ceiling Finish?
Apply an even skim coat, use a reliable bonding agent, and time your trowel passes correctly during setting to achieve a clean, flat, and consistent ceiling finish.
2. Why Does My Ceiling Look Uneven or Patchy After Plastering?
Patchiness appears when parts of the ceiling absorb moisture at different rates due to inconsistent suction, bonding coverage, or changes in substrate porosity.
3. How Long Does a Smooth Ceiling Finish Take to Dry?
A skimmed ceiling usually dries in 24–48 hours with stable airflow and temperature, but damp rooms or limited ventilation can extend the drying period significantly.
4. Can A Homeowner Skim a Ceiling for A Smooth Finish?
Yes, homeowners can skim a ceiling if they prepare the surface properly, control lighting, and follow a steady skim and trowel sequence to minimize visible defects.
5. What Causes Cracking When Aiming for A Smooth Ceiling Finish?
Cracking occurs when plaster dries too fast, when the ceiling substrate moves, or when bonding is inconsistent, creating stress points that break the surface layer.
6. How Do I Fix Trowel Marks That Ruin a Smooth Ceiling Finish?
If plaster is still workable, smooth marks with a clean trowel. After setting, sand lightly and apply a thin skim to level and restore the smooth ceiling surface.
7. Is Multi-Finish Plaster the Best Material for A Smooth Ceiling Finish?
Yes. Multi-finish plaster bonds securely, levels predictably, and supports precise timing, making it one of the most effective materials for smooth ceiling results.