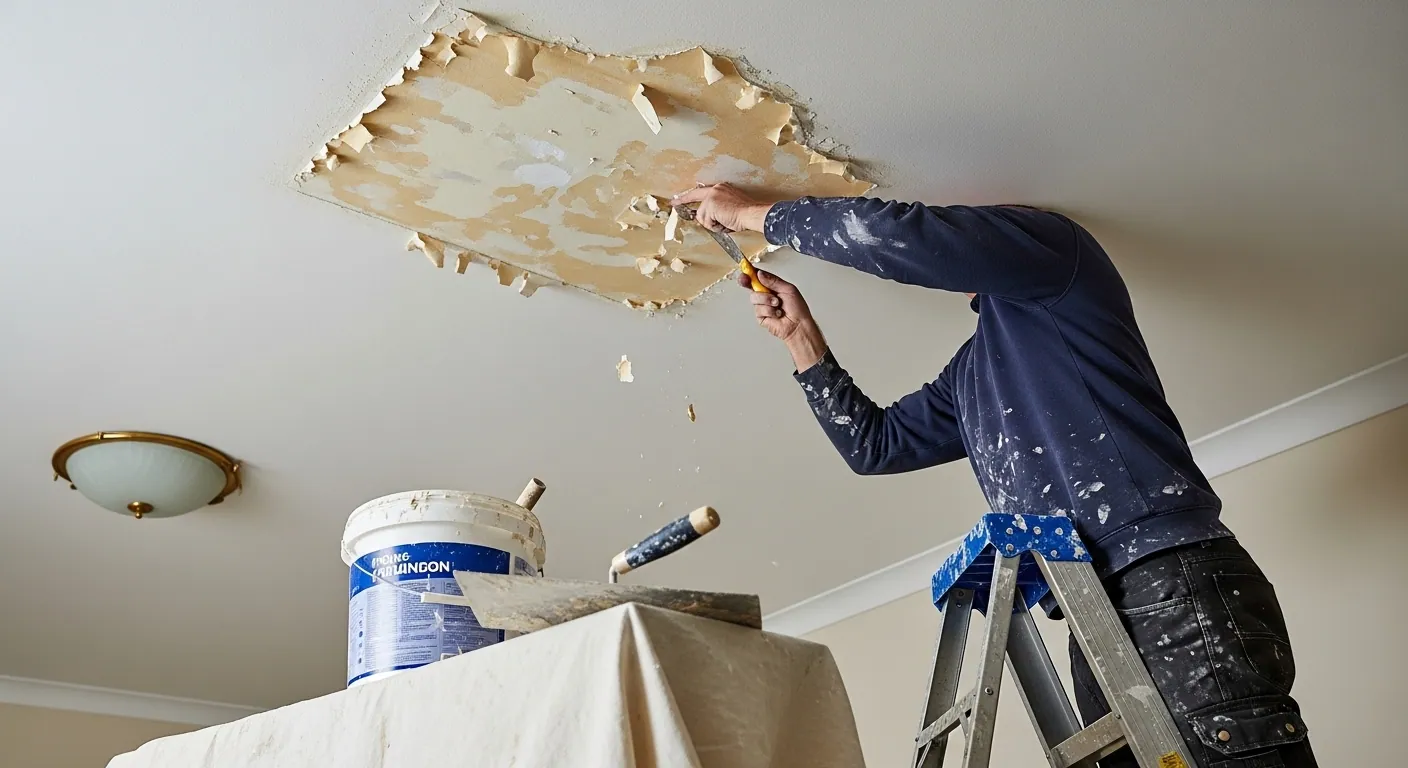
Professional Methods for Painting Over Fresh Plaster Surfaces
Most homeowners look at a fresh pink wall and want to add colour immediately. I have seen this enthusiasm lead to peeling surfaces within just a few weeks. The chemical nature of fresh gypsum requires a specific approach to ensure long term adhesion. In my time working across the North East, I have found that patience is the vital ingredient. At Plasterers Durham, we emphasize that the drying phase is just as important as the application.
If you are looking for a realistic timeline, you must consider the ambient temperature. For a standard room, you are looking at several days for the moisture to leave. This journey often spans a full week if the room lacks proper ventilation. Discrepancies exist because of variables like plaster thickness and the local humidity levels. You must also account for the specific mist coat absorption rates. This ensures a safe and effective finish for your living space.
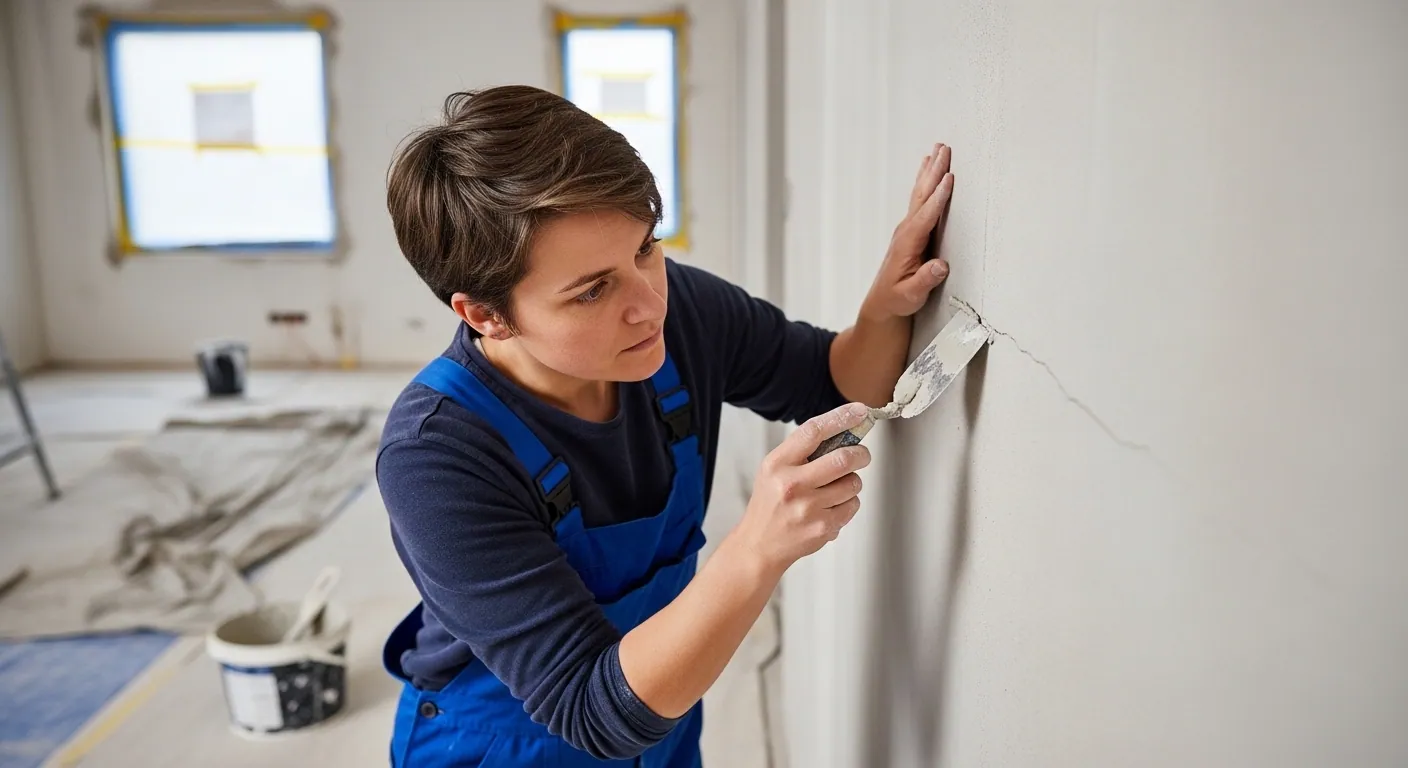
How to Prepare Newly Plastered Walls for Painting and Finishing
Before the rollers touch the surface, a technician must perform a dryness check. This is where most decoration disasters actually occur. I once watched a resident apply silk emulsion to a damp patch. You should budget at least five days for a thorough natural drying period. We scan the area for dark patches and check the surface suction. This initial look determines if the wall is ready for the first sealing layer.
Confirming Substrate Hydration Levels
Professional teams do more than just look for a pink hue. They utilize digital moisture meters to confirm the core is dry. Expect a ten minute check of the external corners and the skirting line. This ensures that the substrate is chemically stable before you apply any decorative pigment.
Achieving a Smooth Polished Canvas
If your walls are smooth, you might consider skipping the sanding. However, even a perfect finish has tiny snags or dust particles. Most Plasterers Durham specialists prefer a fine-grit sandpaper for this specific polishing stage. This turns a raw surface into a refined canvas in just a few minutes.
Eliminating Natural Mineral Efflorescence
If you see white salts, distilled vinegar can help. These natural deposits hasten the failure of the paint film. This method takes minutes to identify if the plaster is venting mineral salts. We find that a dry cloth wipe is better for long term wall health.
Availability of Local Finishing Specialists
High quality trade professionals in the Durham area are often busy. Reputable firms usually have a lead time of several weeks for large projects. If a decorator offers an instant start, verify their previous work. You need a partner with public liability for your peace of mind.
Step by Step Instructions on How to Paint Over Newly Plastered Walls
Once the dust sheets are placed, the rhythm of the work changes. For the first hour, you will see little change in the room. The specialist is mixing the mist coat to ensure it can penetrate the pores. This is a strategic move to avoid hidden adhesion failure. By the second hour, the diluted paint is finally applied. This is the moment the wall begins to accept its new identity.
Once the seal is applied, the focus shifts to the suction rate. We must monitor how the plaster drinks the liquid to ensure a perfect bond. At Plasterers Durham, we target a uniform finish during this critical stage. This prevents any future flaking that could ruin your renovation. The process is messy but highly effective for long term aesthetic health. You will soon have a stable base for your topcoats.
Essential Guidelines for Achieving a Durable Finish
- Mist Coat Ratio: This usually requires a mix of three parts paint to one part water.
- Drying Between Coats: Expect a 24-hour window for the seal to fully harden.
- Cutting In Techniques: These often require 60 minutes for a standard sized bedroom.
- Topcoat Application: If you plan to finish, allow two hours for the final pass.
The exact schedule relies on the porosity of the specific plaster brand used. Traditional lime plaster reacts differently than modern gypsum products. You should clear the workspace of all furniture before the arrival of the team. This prevents delays caused by limited movement around the room. An expert How To Paint Newly Plastered Walls service requires full access to the corners. This allows the specialist to work efficiently and safely.
Also Read: How to Fix Peeling Paint on Plaster Walls and Ceilings: A Restoration Guide
Detailed Guide on How to Paint Newly Plastered Walls and Ceilings
The process is far from over when the walls look even. It concludes only when the ceiling edges are perfectly blended. The overhead stage requires a dedicated period of physical stamina. I have seen many DIY projects show “roller marks” in the light. This happens because the wet edge was not maintained correctly.
Regulating Absorption Rates on Overhead Surfaces
We choose between contract matt and specialized new plaster primers. This choice depends on the surface tension of the ceiling area.
Instructional Tips on How to Paint a Newly Plastered Wall
A vital stage where we match the texture across the different surfaces. We ensure the roller does not create an orange peel effect.
Advanced Particulate and Dust Containment
We clear the area using tack cloths and industrial vacuums. This ensures no grit remains to ruin the final emulsion pass.
Visual Verification of Coating Integrity
A quick check confirms the layers are fully attached. This ensures your home is no longer at risk of paint delamination.
Achieving Professional Results on Fresh Internal Plaster
Knowing How To Paint Newly Plastered Walls involves more than just a brush. It is a technical decorating task that demands patience. When managed by Plasterers Durham, it avoids the cycle of recurring failure. If you contact a professional today, expect a multi-day project window. My advice is to leave a buffer for the mist coat to dry. You will likely need it to address any patchy absorption.
I believe that the industry will continue to move toward more sustainable and breathable coatings. This shift will help reduce common issues with moisture retention in modern homes. We may eventually see more self-sealing plaster innovations that simplify the painting process. This ensures your living space remains healthy and dry for decades. Utilizing Plasterers Durham ensures your project adheres to the highest quality standards. Take these steps now to keep your property in peak condition.
Frequently Asked Questions
How Long Should I Wait Before Painting New Plaster?
You must wait until the plaster is a consistent light pink colour. This usually takes between four to seven days for skimming. If the plaster is applied to a new brickwork base, it may take several weeks. Painting too early traps moisture and leads to alkali burn. Always ensure the room is well ventilated to assist the natural drying process.
What Is a Mist Coat and Why Is It Necessary?
A mist coat is a diluted layer of water-based emulsion. It acts as a primer by soaking into the capillary structure of the plaster. Without this step, the dry plaster sucks the moisture out of standard paint too fast. This prevents a proper bond and causes the paint to peel off in large sheets. It is the most critical step in how to paint over newly plastered walls.
Can I Use a Standard Primer Instead of a Mist Coat?
You can use a dedicated new plaster primer, but it must be breathable. Some modern primers seal the surface too tightly, trapping moisture inside the wall. A traditional mist coat is often the most cost effective and reliable method. At Plasterers Durham, we recommend using a non-vinyl contract matt for the initial sealing layer.
Why Is My Paint Peeling Off the New Plaster?
This usually happens because the mist coat was skipped or the wall was still damp. If the plaster is too dry and dusty, the paint sits on the surface. High suction pulls the liquid away before the latex can form a film. Properly cleaning the dust and using a thinned first coat is the secret to fixing peeled paint issues.
Should I Sand New Plaster Before Painting?
You should only lightly sand to remove small splashes or grit. New plaster should already be smooth and polished from the trowel. Over-sanding can damage the surface and create a furry texture that shows through the paint. Use a fine-grit paper and always wear a dust mask to protect your lungs from fine gypsum particles.