Plastering a ceiling can be an essential part of home renovations, but it often comes with a considerable amount of mess. The wet plaster, trowels, and the act of applying the material overhead all contribute to the creation of splatters, dust, and debris. However, the mess is manageable with the right preparation and protection methods.
What Should You Do to Protect Your Room During Drying?
During the plaster drying process, it’s crucial to manage the moisture levels in the room to avoid damaging your furniture and flooring.
Cover All Furniture and Floors
Before you begin plastering, cover your furniture and flooring with plastic sheeting or drop cloths. This will catch any drips and prevent dust from settling on your belongings. Ensure that the coverings are securely taped to prevent any plaster from seeping underneath.
Control Moisture in The Room
The moisture released from plaster can cause long-term damage to wood, fabrics, and other materials. Ensure proper ventilation by opening windows or using a dehumidifier to allow the plaster to dry evenly and prevent excess moisture buildup.
Use Dehumidifiers and Fans
Dehumidifiers will help draw moisture out of the air, while fans can assist with airflow, speeding up the drying process. Be sure to keep the room well-ventilated to ensure the plaster cures properly without lingering humidity.
What Should You Do If You Want to Protect Your Room Without Excessive Effort?
You can protect your room effectively without spending too much time or effort. Here are some easy steps to follow.
- Protect Your Surfaces Quickly
Use painter’s tape and large plastic sheets to cover walls and floors. These materials are easy to apply and remove, saving you time during cleanup. Plastic sheeting will catch plaster splashes and dust without damaging your surfaces. - Use Disposable Coverings
Instead of worrying about cleaning up, you can opt for disposable plastic sheets to cover your floors. These can be rolled up and thrown away after the job is done, making it quick and efficient. - Ensure Minimal Disruption
Move any essential items out of the room or cover them thoroughly to minimize the need for excessive cleaning. This approach limits the amount of time and effort you spend in preparation and post-plastering cleaning.
What Triggers the Need for Extra Protection During Drying?
Some factors can lead to the need for additional protection, especially during the drying phase.
Changes In Room Temperature
If the temperature fluctuates too much, it can affect the drying speed. Rapid drying can cause cracks or an uneven finish. Keeping the room temperature stable is key to managing moisture and ensuring even drying of the plaster.
Humidity Levels in The Room
Excess humidity can slow down the drying process and cause plaster to dry unevenly, leading to surface imperfections. Managing the room’s humidity levels will help prevent these issues from occurring.
Too Much Plaster Applied at Once
If too much plaster is applied in one go, it can take longer to dry. Applying plaster in layers rather than thick coats will help speed up the process and reduce the amount of time that moisture stays in the room.
What Reduces the Mess When Protecting Your Room on Ceilings?
Managing the mess while plastering ceilings requires proper planning and technique.
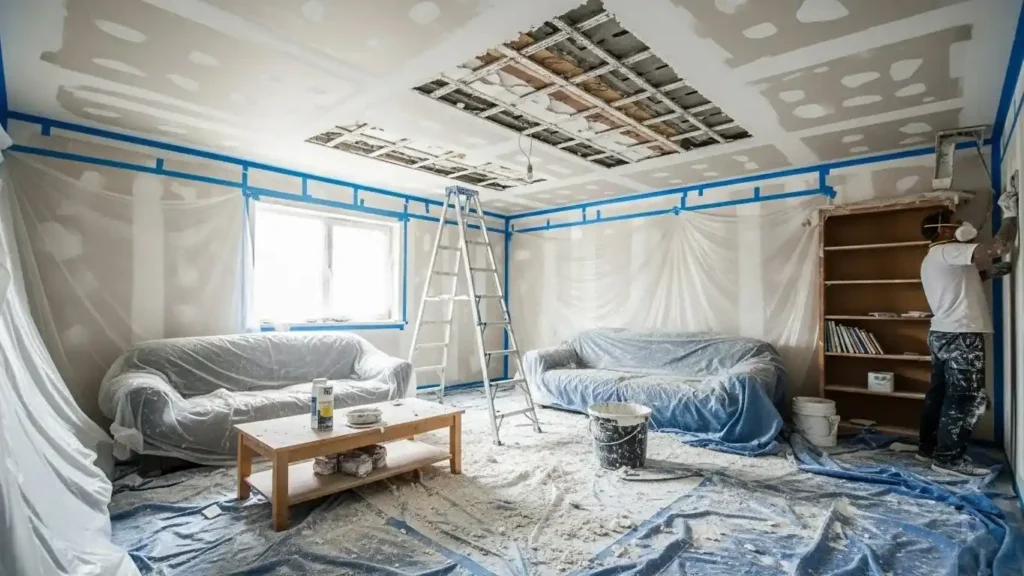
- Cover All Surfaces with Protective Sheets
Ensure that all areas, including walls, floors, and furniture, are covered with thick plastic sheets. Secure them in place with painter’s tape to avoid any accidental plaster splatters. - Use A Smoother Plaster Mix
A smoother plaster mix is less likely to splatter and more likely to stay in place when applied. The right consistency helps minimize the mess, providing more control over the plastering process. - Work In Small Sections
When plastering ceilings, work in smaller sections to reduce splatter. This also allows you to focus on specific areas, making it easier to handle and less likely to cause a mess.
Is It Normal for There to Be Mess When Plastering a Ceiling?
Yes, plastering ceilings is inherently messy. The process requires applying wet plaster to a vertical surface, which is likely to cause splattering if not controlled. However, the mess can be minimized with proper protection, technique, and equipment.
If done carefully, plastering can still be managed without a significant mess. Protective sheeting and using a thinner plaster mix can help you control the splattering and prevent dust from settling on other surfaces.
Read Also: How Much Does It Cost to Plaster a Ceiling in Durham?
What Makes It Possible to Protect Your Room Without Hiring a Professional?
You don’t necessarily need a professional to protect your room from plastering mess. With a few simple steps, you can achieve excellent protection during the plastering process.
1. Use Plastic Sheeting for Easy Cleanup
Cover your furniture and floors with plastic sheeting. This is the most effective and cost-efficient method to protect your room from plaster. It’s easy to apply and remove, making the cleanup process faster and easier.
2. Create A Barrier Around Windows and Doors
If possible, tape off windows and doors with painter’s tape and plastic sheeting to keep plaster dust from escaping into other rooms. This will help you isolate the room and keep the mess contained.
3. Use Drop Cloths for Furniture Protection
For any furniture that cannot be moved, use heavy-duty drop cloths to cover and protect them from plaster splashes. This will help ensure that your belongings stay safe from any damage during the plastering process.
When Should You Protect Your Room While Plastering Walls?
When plastering walls, it’s important to prepare the room similarly to how you would for ceiling plastering.
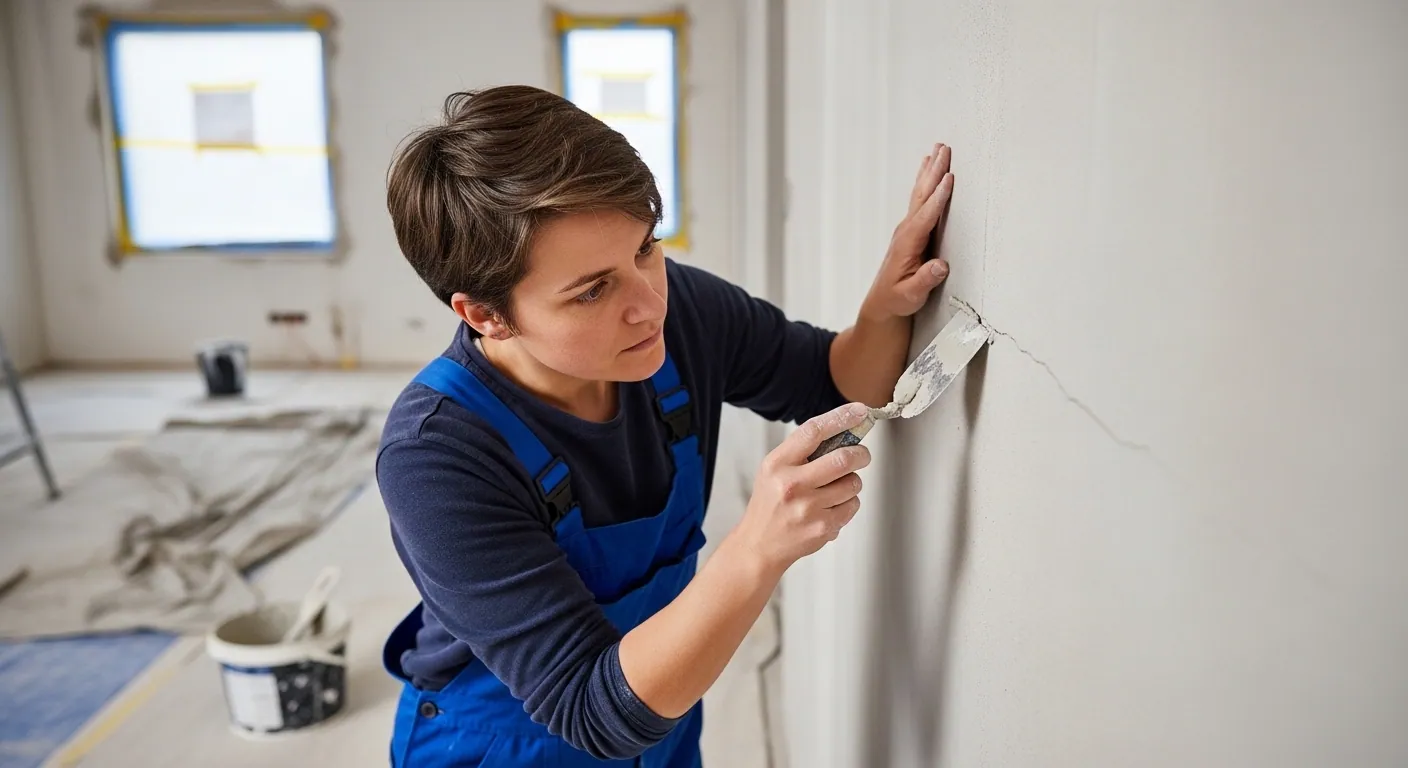
- Protect Adjacent Walls and Furniture
Use plastic sheeting and painter’s tape to cover adjacent walls and any furniture in the room. This will ensure no plaster splashes on surfaces that aren’t being worked on. - Tackle One Section at A Time
Plastering walls is often easier than ceilings, but it can still create a mess. Working in small sections helps control splattering and allows you to focus on applying the plaster neatly and efficiently.
FAQs About Messy Ceiling Plastering and Protecting Your Room
1. How Can I Minimize the Mess When Plastering a Ceiling?
Cover furniture and floors with plastic sheets, use painter’s tape around the edges of walls, and apply plaster in thin layers to reduce splatter.
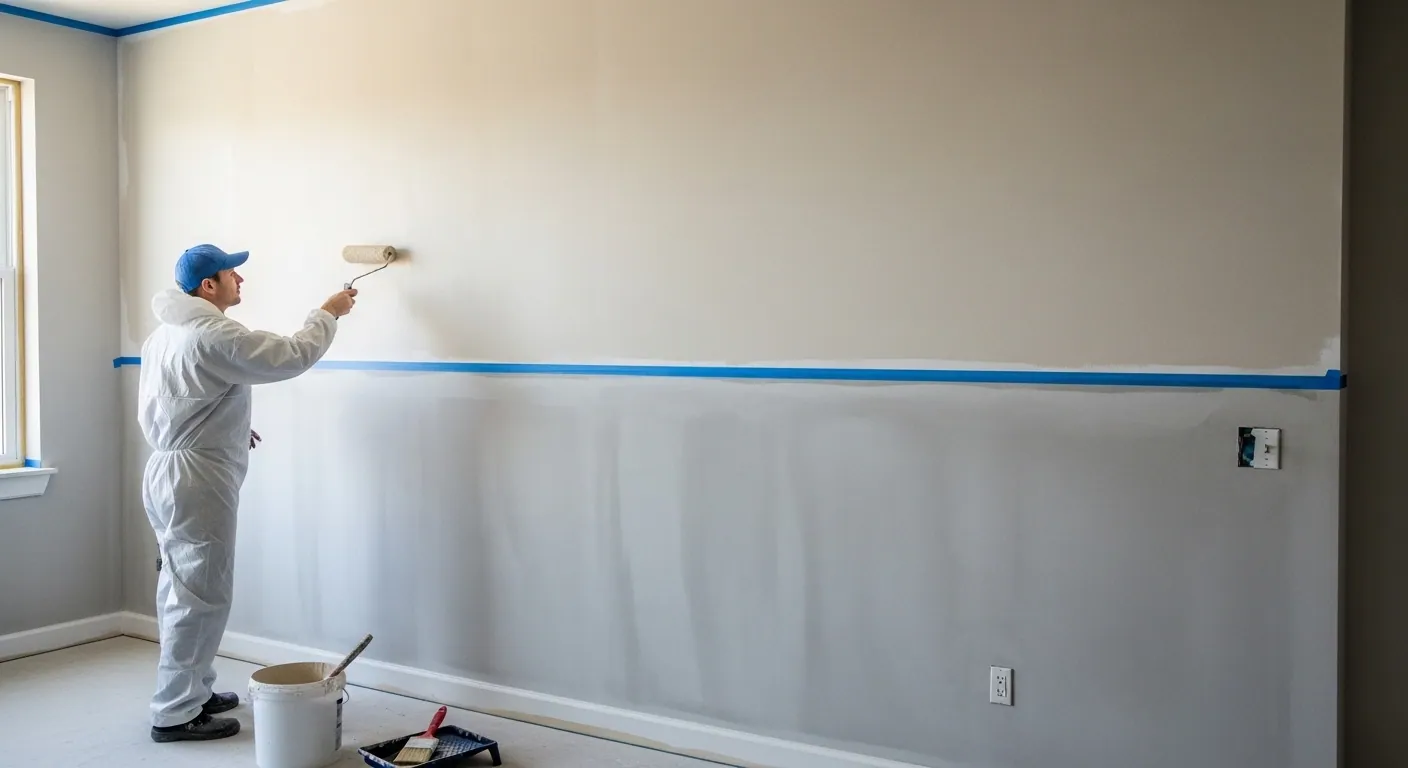
2. Can I Prevent Plaster Splatter on My Walls?
Yes, use painter’s tape and plastic sheeting to protect walls. These materials will form a barrier and prevent any splatters from reaching the walls.
3. How Long Does Plaster Need to Dry Before I Can Paint?
Plaster usually needs 24-48 hours to dry, but make sure it is completely dry before painting. Check for any moist spots to ensure it’s ready for the next coat.
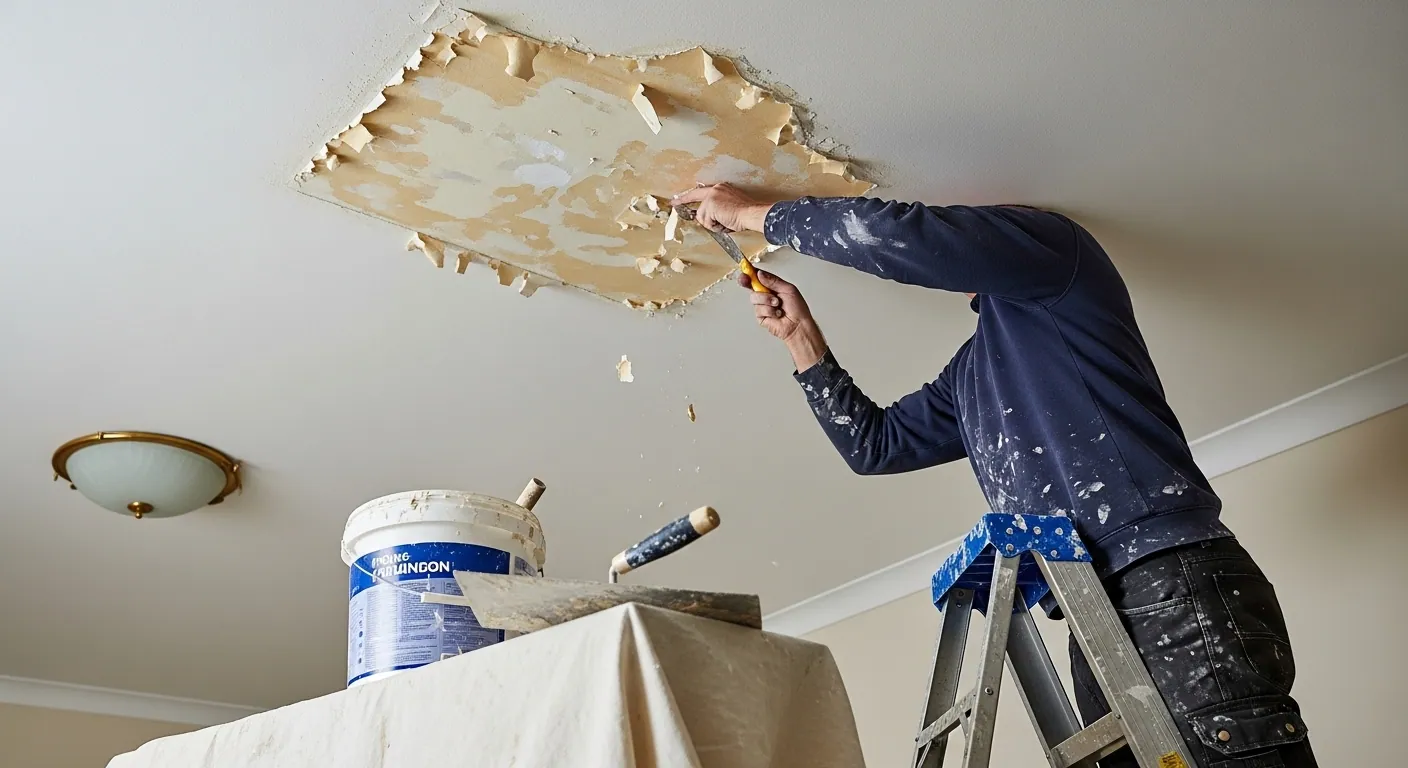
4. Why Does Plastering a Ceiling Make a Mess?
Plastering involves applying wet plaster to a vertical surface, which can easily splatter if not applied carefully. Mix the plaster to the right consistency to minimize splatter.
5. How Can I Prevent Moisture from Damaging My Room During Plastering?
Ensure proper ventilation with fans or open windows to control humidity. Dehumidifiers can also help draw moisture out of the room, speeding up the drying process.
6. How Can I Plaster the Ceiling Without Making a Mess?
Cover all surfaces with protective sheets, use painter’s tape to seal edges, and apply plaster evenly to avoid excessive splattering.