Overboarding a damaged ceiling with plasterboard offers Durham homeowners a cost-effective alternative to complete ceiling replacement, saving time, money, and minimising disruption. This technique involves installing new plasterboard sheets directly over existing damaged ceilings, creating a smooth, level surface without the mess of stripping everything back to the joists. Whether you’re dealing with cracked plaster, water stains, or uneven surfaces, understanding the proper overboarding process ensures professional results that transform your room whilst maintaining structural integrity.
Understanding When Ceiling Overboarding Is Appropriate
Ceiling overboarding proves ideal when the existing ceiling structure remains sound but the surface shows cosmetic damage such as cracks, staining, or texture issues. The original ceiling must still be securely attached to the joists without sagging or significant movement when pressure is applied. Durham properties built before the 1960s often feature traditional lath and plaster ceilings that benefit from overboarding rather than complete removal, preserving the original structure whilst modernising the appearance.
Situations that favour overboarding include minor water damage where the ceiling has dried completely, textured finishes like artex that prove difficult to remove, and ceilings with multiple hairline cracks from settlement. Properties requiring improved soundproofing or thermal insulation also benefit from overboarding using acoustic or insulated plasterboard products. Plasterers Durham recommends professional assessment before overboarding to ensure the existing ceiling can support the additional weight without compromising safety.
Essential Tools and Materials for Ceiling Overboarding Projects
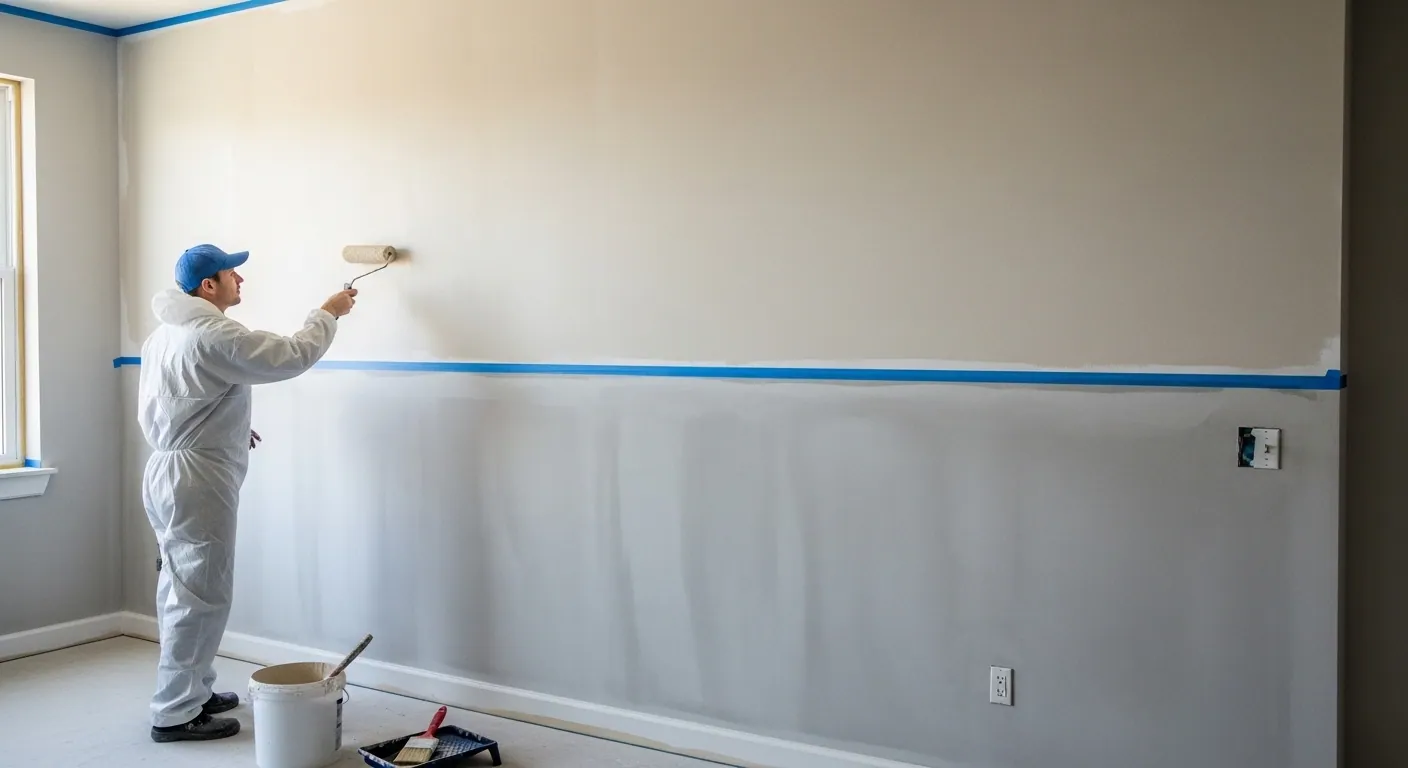
Professional ceiling overboarding requires specific equipment that ensures safe, efficient installation whilst protecting surrounding areas from dust and debris. Durham homeowners attempting this project should gather all necessary items before starting work to avoid delays during critical installation stages.
- Plasterboard sheets in 9.5mm or 12.5mm thickness depending on existing ceiling condition
- Cordless screw gun with drywall screw bit for securing boards to joists
- 50mm or 60mm drywall screws to penetrate through both plasterboard layers into joists
- String line and chalk for marking joist positions across the ceiling
- Stanley knife and straight edge for precise plasterboard cutting
- Plastering stilts or adjustable height platform for comfortable overhead working
- Dust mask, safety goggles, and protective gloves for personal safety
A plasterboard lifter or dead man’s prop proves invaluable for solo work, holding sheets against the ceiling whilst you secure them with screws. Stud finders help locate joists hidden behind existing plasterboard, particularly important in properties where ceiling access from above isn’t possible.
Step by Step Process for Overboarding Damaged Ceilings
Locating and Marking Ceiling Joists
The first critical step involves identifying all ceiling joist positions using a stud finder or by accessing the space above through the loft. Mark joist locations on the walls at both ends of the room using chalk or pencil, creating reference points for string line positioning. Run a taut string line between corresponding marks to create visible guides showing exactly where each joist runs across the ceiling.
Preparing the Existing Ceiling Surface
Remove all light fixtures, smoke alarms, and ceiling mounted items before commencing work, labelling electrical connections for safe reinstallation. Brush away loose debris, dust, and cobwebs from the existing ceiling surface to ensure good contact with the new plasterboard. Check for any protruding screw heads or nails in the original ceiling and hammer them flush to prevent interference with the new boards.
Cutting and Installing Plasterboard Sheets
Measure each plasterboard sheet carefully, cutting to size using a Stanley knife scored along a straight edge then snapped cleanly. Position boards perpendicular to the joists in a staggered brick pattern, ensuring joints don’t align across the ceiling which reduces cracking risk. Lift the first board into position starting from a corner, using a helper or mechanical lifter to hold it against the ceiling whilst you drive screws.
How to Avoid Common Overboarding Mistakes
Many Durham homeowners encounter problems when attempting ceiling overboarding without proper planning or technique. The most frequent mistake involves insufficient screw fixings, with professionals recommending approximately seven screws per 1.2-metre-wide board for secure attachment. Screws positioned too close to plasterboard edges can cause crumbling and loss of purchase, so maintain at least 13mm from any edge.
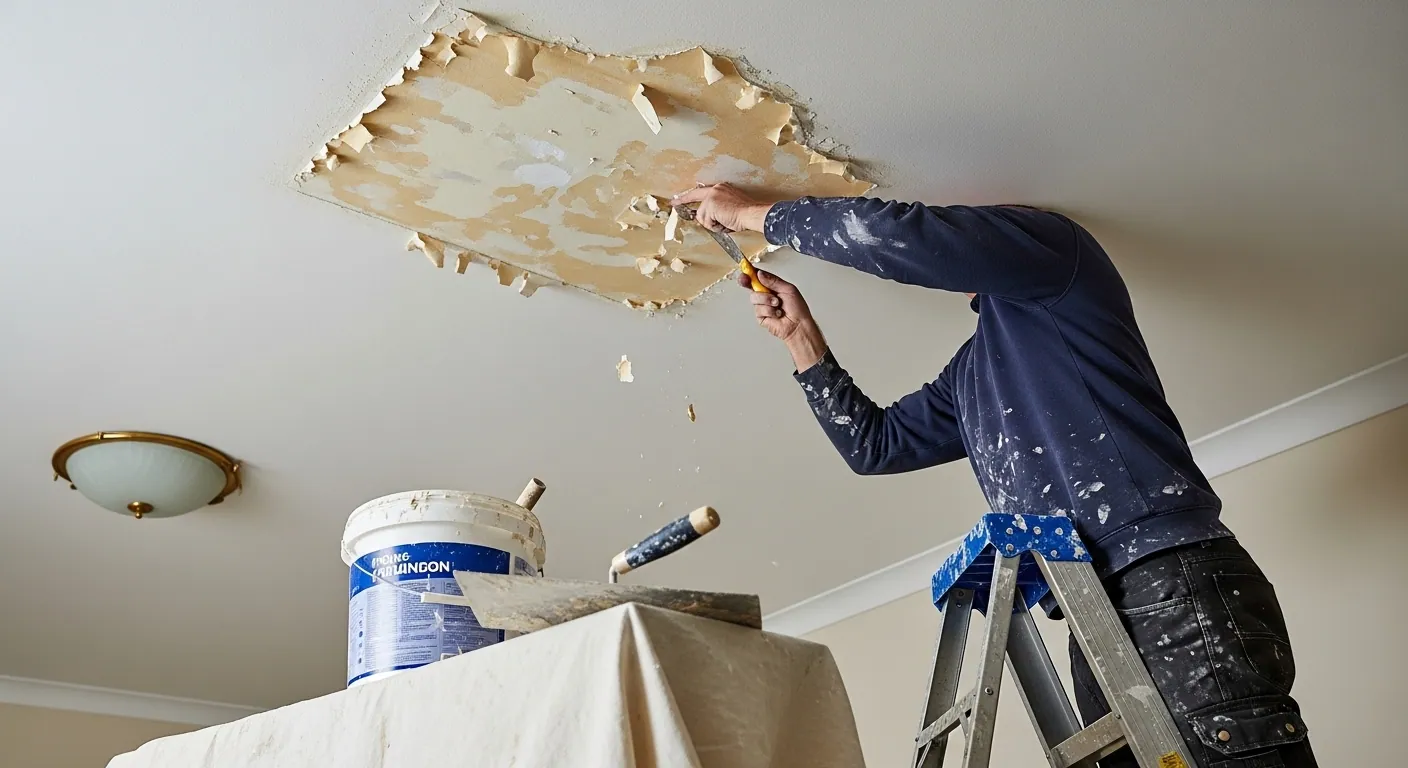
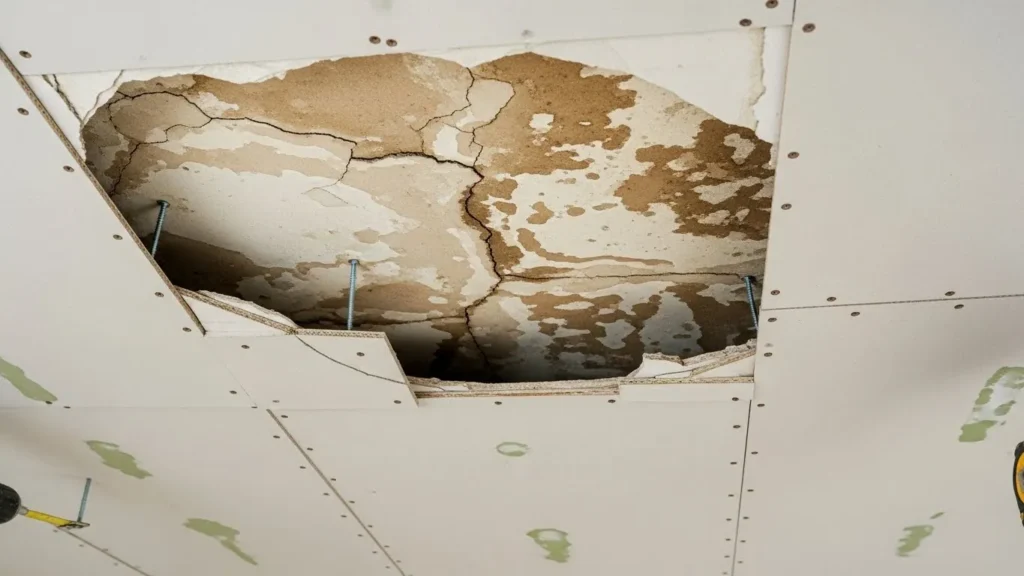
Attempting to overboard severely damaged or unstable existing ceilings creates dangerous conditions where the combined weight can cause collapse. Always assess the structural integrity before proceeding, looking for sagging sections, water damage that hasn’t fully dried, or loose areas that move when pressed. Installing boards parallel to joists rather than perpendicular prevents proper fixing to the structural framework, resulting in weak spots and potential failure.
What Affects Overboarding Success for Durham Properties
Existing Ceiling Condition
The current ceiling’s structural soundness directly determines overboarding viability, with stable surfaces accepting new plasterboard whilst compromised ceilings require complete replacement. Severe water damage, extensive cracking spanning multiple joists, or significant sagging all indicate underlying problems that overboarding cannot address. Durham’s older properties often feature solid lath and plaster construction that provides excellent overboarding foundations when properly maintained.
Joist Spacing and Load Capacity
Standard UK joist spacing of 400mm or 600mm centres influences plasterboard orientation and screw placement for optimal strength. Wider joist spacing may require additional nogging installation between joists to provide intermediate support for plasterboard edges. The combined weight of original ceiling plus new plasterboard must remain within joist load capacity, typically not problematic for single layer overboarding.
Room Height Considerations
Adding 9.5mm or 12.5mm plasterboard reduces ceiling height slightly, potentially affecting door clearances, light fixture positioning, and overall room proportions. Durham properties with already low ceilings below 2.3 metres should carefully consider whether further height reduction proves acceptable before proceeding. Coving and cornice details may require adjustment or replacement to accommodate the new ceiling level.
Related Article: How to Fix Water Damaged Plaster Ceiling
Understanding Ceiling Overboarding Costs in Durham
Small to medium room ceiling overboarding typically costs between £280 and £440 when hiring professional plasterers in Durham, including materials and labour. Large rooms can reach £425 to £1,150 depending on complexity, ceiling height, and whether additional services like electrical work prove necessary. DIY overboarding saves labour costs but requires tool investment and helper availability, with materials alone costing approximately £50 to £150 for standard room sizes.
Full ceiling replacement costs substantially more at £400 to £1,000 compared to overboarding’s more economical approach. Water damaged ceiling repairs including electrician attendance, moving lights, and installing new plasterboard average £1,400 to £1,700 across Durham. Plasterers Durham provides transparent pricing with detailed quotations covering all aspects of ceiling overboarding projects.
FAQ’s About Overboarding Damaged Ceilings with Plasterboard in Durham
How Do You Avoid Damaging Joists When Overboarding Ceilings?
Locate joists accurately using stud finders before drilling, ensuring screws penetrate timber centres rather than edges which can split wood.
What Affects Overboarding Durability for Durham Properties?
Proper screw spacing, existing ceiling stability, joist condition, and using appropriate plasterboard thickness all determine long term overboarding success.
When Should You Overboard Rather Than Replace a Damaged Ceiling?
Overboard when the existing ceiling structure remains sound with only cosmetic damage, saving costs compared to complete replacement at £400 to £1,000.
How Do You Check If Overboarding Is Suitable for Your Ceiling?
Press firmly across different ceiling areas checking for movement, inspect for water damage or sagging, and verify joist condition from above if accessible.
Why Does Overboarding Work Better Than Patching for Extensive Damage?
Overboarding creates a completely new surface eliminating multiple repair points, providing uniform appearance and strength across the entire ceiling.
What Should You Do If Your Ceiling Sags After Overboarding?
Immediately remove the new plasterboard and investigate underlying problems, as sagging indicates insufficient original ceiling strength or inadequate fixing.
How Can You Overboard a Ceiling Without Help?
Use a plasterboard lifter or dead man’s prop to hold sheets against the ceiling whilst you secure them with screws, working from corners systematically.