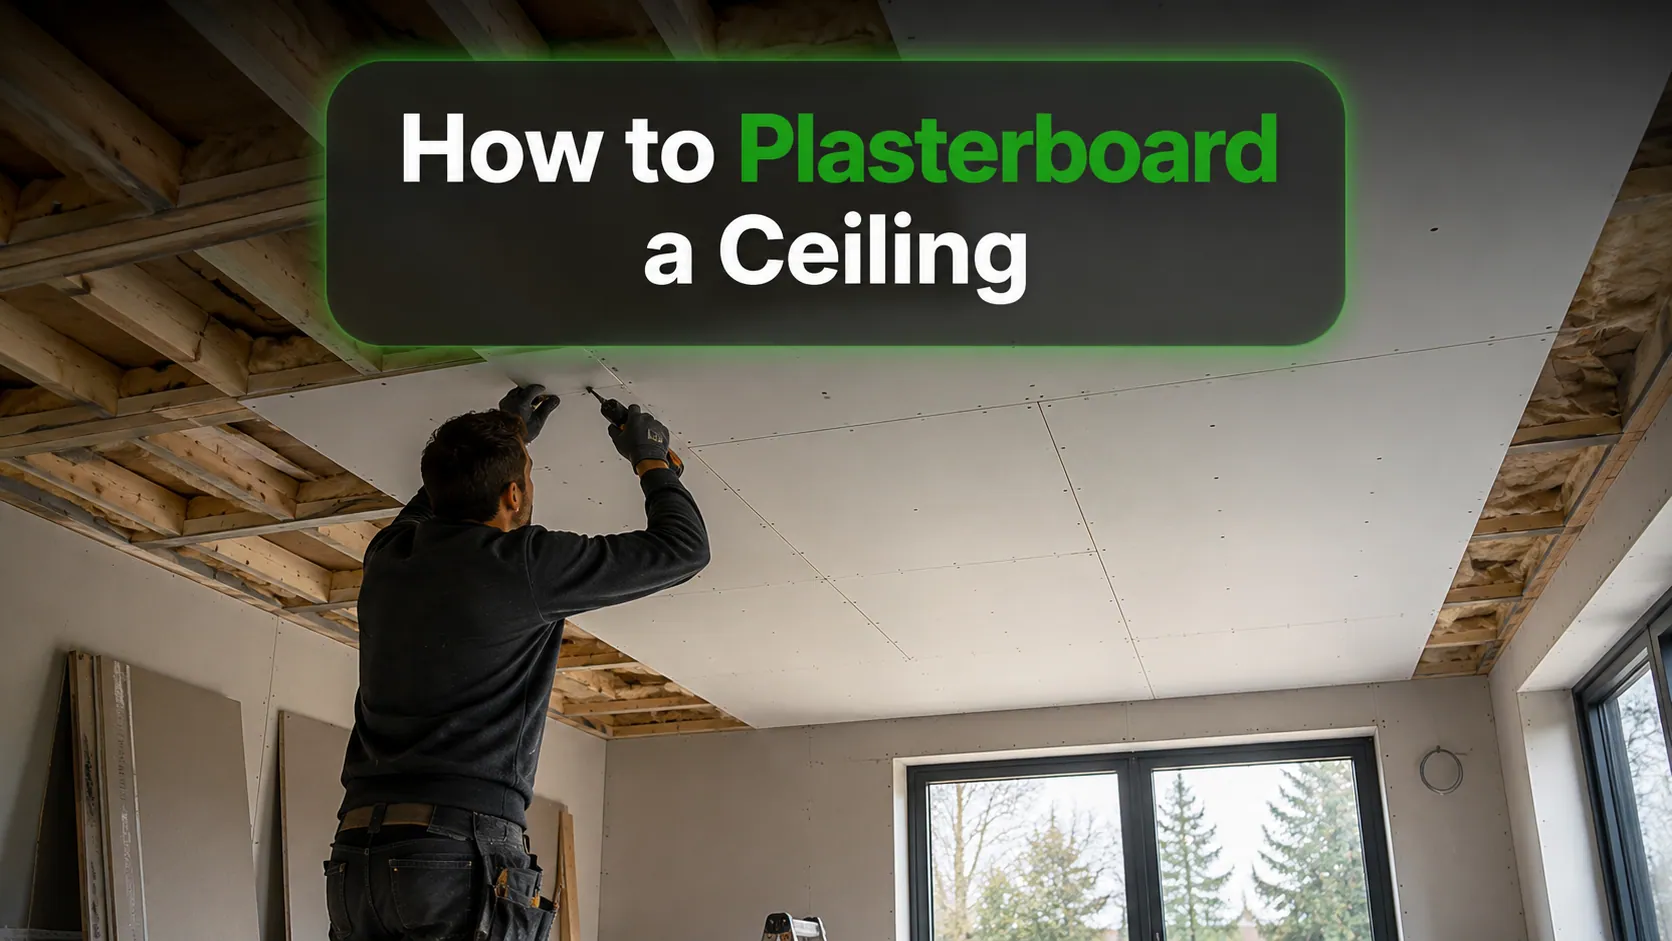
Learning how to plasterboard a ceiling is one of the more physically demanding DIY jobs a homeowner can take on. The boards are heavy, working overhead is awkward, and every mistake is visible the moment the light catches the surface at an angle.
Done correctly, though, plasterboarding a ceiling gives you a smooth, level base that’s ready for skimming or tape-and-fill finishing. This guide covers everything from locating joists and choosing the right board thickness, to fixing, staggering, and finishing, with honest advice on where professional help makes the most sense.
What Tools and Materials Do You Need to Plasterboard a Ceiling?
Before you start, get everything on site. Stopping mid-job because you’ve run out of screws or can’t locate a stud detector adds hours.
Boards and fixings:
- 12.5mm tapered edge plasterboard (standard for joists at 450mm centres or below)
- 15mm board if your joists sit at 600mm centres, to prevent sagging over wider spans
- 38mm to 60mm drywall screws (phosphate coated, bugle head)
- Scrim tape and jointing compound for finishing
Tools:
- Joist detector or long awl
- Stanley knife and straight metal edge
- Cordless drill or impact driver
- Spirit level
- Chalk line
- Safety goggles and a dust mask rated FFP2 minimum
A board lifter is worth hiring for anything larger than a box room. These can be hired from most tool hire depots across Durham and the wider North East for a daily rate. They hold the board flat against the ceiling while you screw, freeing both hands and saving your back considerably.
How to Find Ceiling Joists Before You Fix Anything
Plasterboard has to be screwed into solid timber. Getting this stage wrong means boards that move, crack, or eventually pull away.
For upstairs rooms, go into the loft space and measure the joist centres directly. Mark the positions on the wall with chalk before you come back down. Joists in most UK homes are at either 400mm or 600mm centres, though older properties sometimes vary. For ground floor ceilings, lift a floorboard in the room above and measure from there, or use a stud detector and verify any reading by driving a bradawl through the plaster to confirm you’ve hit timber.
Mark every joist position on all four walls before you cut a single board. It takes ten minutes and it’ll save you guessing while you’re up a ladder with a heavy sheet overhead.
Get a Free Drylining Quote from Plasterers Durham
If you’d rather have experienced hands do the boarding and skimming, Plasterers Durham offers professional drylining services across Durham and the surrounding area. Call 01913 004097 or use the contact form to arrange a visit.
What Plasterboard Thickness Do You Need for a Ceiling?
This is the question most DIY guides skip over. The answer depends on joist spacing, not personal preference.
| Joist Spacing | Recommended Board | Notes |
| 400mm centres | 12.5mm tapered edge | Standard domestic ceiling |
| 450mm centres | 12.5mm tapered edge | Fine for most UK homes |
| 600mm centres | 15mm board | Prevents mid-span sagging |
| Overboarding existing ceiling | 9.5mm board | Never use 9.5mm for a new installation |
Tapered edge boards are the right choice for plastered ceilings. The recessed edges create a channel at each joint for jointing compound, which reduces the risk of cracking at the seams once the skim coat goes on. Square edge boards are occasionally used where the ceiling will be painted without skimming, but they’re harder to finish cleanly.
How to Cut and Prepare Plasterboard Before Fixing
Plasterboard cuts cleanly with a Stanley knife and a straight metal edge. You don’t need a saw.
Score the front face along the marked line, pressing firmly through the paper layer. Snap the board away from the score by bending it sharply back over your knee. Then run the knife along the fold on the reverse side to separate the sheets completely. The edge will be slightly rough. Run a surform rasp along it to smooth it before lifting the board into position.
Cut boards so the ends land on the centre of a joist, not between two. The next board butts up to the same joist, both sharing it as a fixing point. If you cut a board to length and the cut end falls in mid-air, you’ll need to add a noggin (a short section of 50mm x 50mm timber nailed between joists) to give the edge somewhere to land.
How to Attach Plasterboard to a Ceiling: Step by Step
Knowing how to plasterboard a ceiling properly starts with the sequencing. Start at the corner of the room and work in one direction. Here’s how the process runs:
- Measure and cut the first board so its leading end sits on the centre of a joist.
- Lift the board into position. If you’re using a board lifter, crank it up until the board sits flush against the ceiling.
- Drive in a drywall screw every 150mm along each joist the board crosses. Keep screws at least 13mm back from any cut edges and 10mm from factory-bound edges.
- The screw head should sit just below the surface of the paper without tearing it. If the paper dimples in, the screw’s gone too deep and that fixing has lost holding strength.
- Stagger the next row so end joints don’t line up across the ceiling. A straight line of joints running wall to wall creates a weak point that’s likely to crack once the filler dries.
Leave a 3mm gap between boards at the joints. This gives the jointing compound or skim coat something to grip when it’s applied.
How to Plasterboard a Ceiling By Yourself: Is It Actually Possible?
Yes, but it’s slow and tiring without help or equipment. A standard 2.4 x 1.2m board in 12.5mm thickness weighs around 25kg. Holding that overhead while positioning it and picking up a drill is genuinely difficult.
The practical solo approach:
- Hire a board lifter. This takes the weight completely and holds the board level while you screw.
- As an alternative, cut a T-shaped prop from spare timber at ceiling height plus a few millimetres. This acts as a third hand on the far side of the board.
- Work in smaller sections if you don’t have either. Cutting boards to 1.2 x 1.2m makes them lighter and more manageable, though you’ll have more joints to fill.
Two people is the preferred arrangement by any experienced trade. One holds or supports the board, one screws. The job that takes a lone DIYer a full day comfortably takes two people half a day.
What a Durham Plasterer Sees Going Wrong on Ceiling Jobs
On a job in Chester-le-Street a couple of years ago, the homeowner had attempted to plasterboard a ceiling by himself without a board lifter or any temporary props. He’d managed to get two rows up by wedging the boards against the ceiling with a length of 4×2 timber braced from the floor. Not a bad improvisation, but he’d run every board in the same direction with all end joints lining up across the room. Within weeks of the skim coat going on, a crack had opened up across the full width of the ceiling following those joints exactly.
The fix involved cutting out the jointing, applying scrim tape properly across every joint, and re-skimming the whole ceiling. The boarding itself was structurally fine. It was the lack of staggering that caused every bit of the problem.
Plasterers Durham sees this pattern regularly on inherited jobs. The other common issue is boards fixed with too few screws, particularly larger sheets where only six or eight screws have been used across the whole board. At 150mm centres, a standard 2.4 x 1.2m board crossing three joists should have around 45 to 50 fixings. That number surprises most people.
Do You Need to Skim After You Learn How to Fit Plasterboard to a Ceiling?
Not always, but usually. There are two finishing routes after the boards are up.
Tape and fill (dry lining finish): Scrim tape is applied over every joint and covered with jointing compound. The surface is painted rather than skimmed. This is faster and doesn’t require plastering skill, but the finish is flatter and the joints are often visible in raking light.
Skim plaster: A 2mm to 3mm layer of finish plaster goes over the whole ceiling. This gives a completely smooth, seamless surface. It’s the standard expected in UK domestic properties and the preferred finish before decoration. The skim coat is also what most people find genuinely difficult to do themselves.
Learning how to plasterboard a ceiling is a realistic DIY skill. Achieving a professional skim finish on top of it is a separate and considerably harder job. Most people who board their own ceilings bring in a plasterer for the skim.
Mistakes That Add Time and Create Problems Later
- Skipping joist marking before lifting any boards. Without chalk lines on the walls, you’re guessing where to drive screws while holding a 25kg board overhead.
- Using square edge boards where tapered edge is needed. The joints sit proud rather than flush, and jointing compound builds up visibly at every seam.
- Running all boards in the same direction with aligned end joints. Staggering is what stops a single crack from travelling across the full ceiling.
- Driving screws too deep. A torn paper face means the fixing has failed. That spot will need a fresh screw 50mm away.
- Forgetting to add noggins where board ends fall in mid-air. An unsupported edge will flex and crack at the joint within months.
Frequently Asked Questions
What Thickness Plasterboard Do You Use for A Ceiling?
12.5mm tapered edge is the standard for joists at 450mm centres or below. If your joists are at 600mm centres, use 15mm board to prevent sagging. Never use 9.5mm board for a new ceiling installation; it’s only suitable for overboarding an existing surface.
Can You Plasterboard A Ceiling by Yourself?
It’s possible with a hired board lifter or a timber prop, but it’s significantly harder and slower than working with two people. A 2.4 x 1.2m board in 12.5mm weighs around 25kg, and holding that overhead while positioning and screwing is physically demanding.
Do You Need to Skim Plasterboard After Fitting It to a Ceiling?
Not always. Tape and fill with jointing compound followed by paint is a valid finish, particularly in utility spaces. For living rooms and bedrooms, a skim coat of finish plaster gives the smooth, seamless result that’s standard in UK domestic work.
How Do You Find the Joists Before Fitting Plasterboard to A Ceiling?
For upstairs rooms, measure from the loft and mark joist positions on the walls with chalk. For ground floor ceilings, lift a floorboard above or use a stud detector. Always verify with a bradawl before committing to a layout.
Do You Need to Stagger Plasterboard Boards on A Ceiling?
Yes. Staggering the end joints prevents cracks from running the full width or length of the room. When boards are installed in a straight run with all end joints aligning, any movement at a joint creates a continuous crack across the ceiling.
What to Check Before You Book Anyone to Finish Your Ceiling
Once the boards are up, the quality of the skim coat determines how the ceiling looks for the next decade. Ask any plasterer you’re considering whether they’ll PVA the boards before skimming. A diluted PVA bonding solution controls suction and prevents the plaster drying too quickly, which is particularly relevant in older or draughty properties across Durham and County Durham.
Plasterers Durham has completed drylining and skimming work on a wide range of residential properties across the area and can advise on the best approach for your specific ceiling.
Book Your Ceiling Skim with Plasterers Durham
Got the boards up and need a professional finish? Get in touch with Plasterers Durham to arrange a free assessment. The team works across Durham city and the surrounding area and will give you honest advice on what the ceiling needs before any work begins.