Preparing an Artex ceiling for skimming transforms outdated textured surfaces into smooth, modern finishes that enhance Durham property values and aesthetic appeal. The key to successful Artex preparation lies in proper surface treatment, asbestos testing when necessary, and correct application of bonding agents that ensure plaster adhesion. This comprehensive guide walks Durham homeowners through professional preparation techniques, from initial safety assessments to final skimming readiness, ensuring your ceiling transformation achieves flawless results without costly mistakes.
Understanding Artex Ceiling Composition and Safety Considerations
Artex ceilings manufactured before 1999 may contain white asbestos, known as chrysotile, which poses serious health risks if disturbed during preparation work. Properties built between 1984 and 2000 carry lower asbestos risks, though testing remains advisable before commencing any surface work that involves scraping or sanding. Durham homeowners should commission professional asbestos surveys costing approximately £150 to £300 rather than relying on unreliable DIY testing kits that produce inaccurate results.
Asbestos containing Artex can be safely plastered over without removal if the surface remains intact and undisturbed during preparation. The critical principle involves avoiding aggressive scraping, sanding, or breaking that releases dangerous fibres into the air. Professional asbestos removal costs around £150 per square metre, totalling approximately £3,000 for average 20 square metre ceilings, making careful preparation the more economical approach. Plasterers Durham provides expert guidance on safe Artex preparation tailored to your property’s specific age and condition.
Essential Tools and Materials for Artex Ceiling Preparation
Professional Artex ceiling preparation requires specific equipment that ensures safe, effective surface treatment whilst minimising dust and debris. Durham homeowners should gather all necessary items before starting work to maintain project momentum through critical preparation stages.
- Large scraper or filling knife for gently removing high spots and pronounced texture peaks
- PVA bonding solution mixed at 3 parts PVA to 1 part water for sealing
- Clean paint roller and tray for even PVA application across ceiling surfaces
- Dust sheets and protective coverings for furniture and flooring protection
- Safety equipment including dust mask, goggles, and gloves for personal protection
- Plasterer’s pre grit or SBR bonding agent as alternative to traditional PVA
- Step ladder or scaffold platform for comfortable overhead working at height
Thistle bonding coat plaster provides the levelling layer that fills Artex texture before final skimming, whilst multi finish plaster creates the smooth top coat. Professional plasterers recommend having both materials ready before starting to avoid project delays during time sensitive application stages.
Also Read: How to Overboard a Damaged Ceiling with Plasterboard
Step by Step Artex Ceiling Preparation Process
Initial Surface Assessment and Cleaning
Begin by thoroughly examining the entire ceiling surface, checking for loose Artex, cracks, or areas where texture has separated from the base layer. Remove any unstable sections that move under gentle pressure, as these will compromise plaster adhesion and cause future failures. Clean the ceiling completely, removing dust, cobwebs, grease, and nicotine staining that prevents proper PVA bonding.
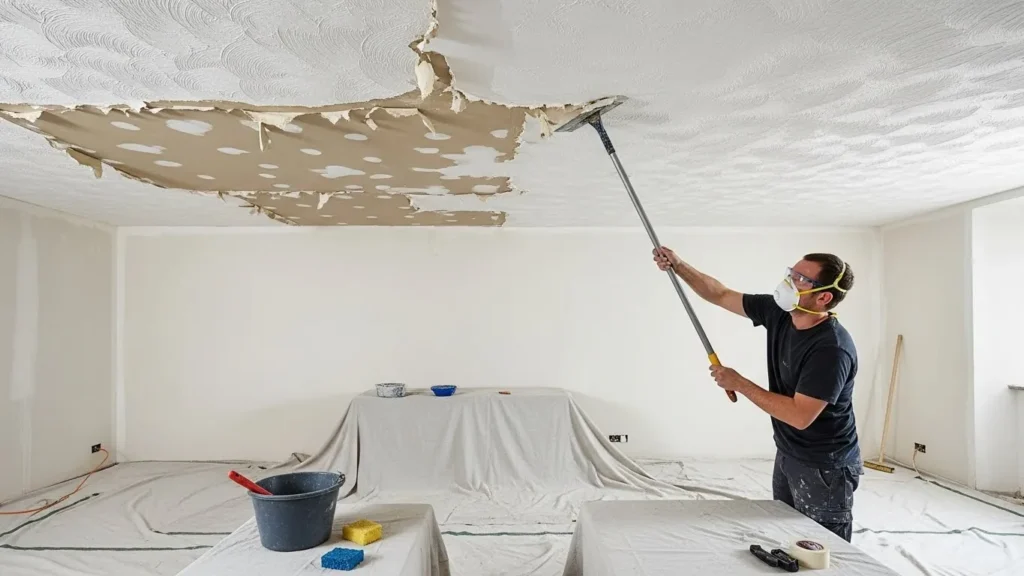
Reducing Prominent Texture Features
Use a large scraper held at a shallow angle to gently flatten pronounced Artex peaks, swirls, and nipples without aggressively digging into the surface. This preparation reduces the depth that bonding coat must fill, minimising plaster weight and application difficulty. Work systematically across the ceiling in overlapping sections, collecting debris immediately to prevent it falling onto prepared areas.
Applying PVA Bonding Solution
Mix PVA at the correct 3 parts PVA to 1 part water ratio, ensuring thorough blending before application. Apply the first PVA coat using a clean roller, working in methodical strips to guarantee complete coverage across the entire ceiling surface. Allow this initial coat to dry completely, typically requiring 2 to 4 hours depending on temperature and ventilation, before applying the crucial second coat.
What Affects Artex Preparation Success for Durham Properties
Ceiling Age and Paint Condition
Older Artex ceilings with multiple paint layers create glossy, low porosity surfaces that resist PVA penetration and reduce plaster adhesion. Adding fine sand to PVA creates mechanical keys that improve bonding on heavily painted surfaces where chemical adhesion alone proves insufficient. Durham properties from the 1970s and 1980s often feature thickly painted Artex requiring this enhanced preparation approach.
Artex Pattern Depth and Style
Heavy swirl patterns and deeply textured Artex demand thicker bonding coat applications to achieve level surfaces, potentially requiring two separate bonding layers. Shallow stipple or splatter patterns need minimal levelling, often accepting direct multi finish skimming over PVA without intermediate bonding coats. Professional assessment determines the most appropriate preparation method based on existing texture depth and coverage requirements.
Room Temperature and Humidity
Cold Durham winters slow PVA drying times and plaster setting, extending project completion from single day work to multi day operations requiring interim PVA application. Excessive humidity prevents proper moisture evaporation from plaster, creating soft spots and extended drying periods that delay decoration. Maintaining room temperatures between 15°C and 25°C with adequate ventilation optimises preparation and skimming success rates.
Which Method Gives Best Results for Artex Ceiling Skimming
Two primary preparation approaches suit different Artex conditions and homeowner preferences. The direct skim method involves scraping high spots, applying two PVA coats, then skimming directly with two multi finish coats totaling 3mm thickness. This technique works perfectly for shallow Artex patterns on sound ceilings where minimal levelling proves necessary.
The bonding coat method provides superior results for heavily textured or uneven Artex, involving PVA application followed by thistle bonding coat that fills texture depth. Once the bonding coat dries and receives fresh PVA treatment, multi finish plaster creates the final smooth surface matching surrounding ceiling quality. Professional plasterers favour this approach for challenging Artex transformations requiring guaranteed flat finishes.
Some Durham properties benefit from overboarding with new plasterboard rather than skimming existing Artex, particularly when ceilings show structural damage or confirmed asbestos presence. This approach adds ceiling depth whilst eliminating preparation complexity, though costs increase compared to direct skimming.
Understanding Artex Ceiling Skimming Costs in Durham
Small to medium room Artex ceiling skimming typically costs between £160 and £480 in Durham depending on room size and preparation complexity. Professional plasterers charge approximately £7 to £10 per square metre for straightforward skimming over well prepared Artex surfaces. Medium 3 metre by 3 metre rooms average £480 including materials and labour when extensive preparation proves necessary.
Large 20 square metre kitchen ceilings range from £740 at premium rates to £300 for competitive local plasterers working on daily rates rather than square metre pricing. DIY Artex preparation saves labour costs whilst requiring tool investment and accepting longer completion times compared to professional services. Plasterers Durham provides transparent pricing with detailed quotations covering all aspects of Artex ceiling preparation and skimming.
FAQ’s About Preparing Artex Ceilings for Skimming in Durham
What Should You Do If Preparing Artex Ceiling for Skimming in Old Properties?
Commission professional asbestos testing before any preparation work on pre 1999 Artex, then follow non disturbance preparation methods if asbestos is confirmed present.
How Do You Avoid Damaging Artex When Preparing Ceilings for Skimming?
Use gentle scraping at shallow angles to remove high spots without aggressive digging that releases potential asbestos fibers or damages the base surface.
What Affects Preparation Time for Artex Ceilings Without Professional Help?
Pattern depth, ceiling size, PVA drying times, and your plastering experience all influence DIY preparation duration from single days to extended weekends.
What Triggers Poor Plaster Adhesion on Prepared Artex Ceilings?
Insufficient PVA application, skipping the second coat, plastering over wet PVA instead of tacky PVA, and inadequate surface cleaning all cause adhesion failures.
Which Method Gives Smoothest Finishes When Preparing Artex for Skimming?
The bonding coat method using thistle bonding as a levelling layer before multi finish top coats delivers the flattest results on heavily textured Artex.
How Can You Spot Asbestos Containing Artex on Walls and Ceilings?
Visual inspection cannot identify asbestos content, requiring professional laboratory testing of samples taken from inconspicuous areas before preparation work commences.
Is It Normal If Artex Preparation Takes Multiple Days for Homeowners?
Yes, DIY preparation commonly extends over several days due to PVA drying times, learning curves, and working around other commitments unlike professional single day completion.